Tired of switching between tools just to track bugs, service requests, or internal tasks? If you’re already using Azure DevOps for development, you might be wondering — can it double as a ticketing system too? The answer is yes — and it’s more powerful than you might think.
In this post, we’ll show you how to set up Azure DevOps as a fully functional ticketing system using Boards and Work Items. Whether you’re managing IT requests, customer issues, or internal team tasks, this setup can help streamline your workflow and keep everything in one place.
We’ll also take a quick look at how Azure DevOps stacks up against some popular dedicated ticketing tools — like Desk365 — to help you decide what’s best for your team’s needs.
How to create a ticketing system in Azure DevOps
Creating a ticketing system in Azure DevOps involves using its built-in work items and boards features. These tools allow you to track and manage tasks, bugs, user stories, and other types of work like support tickets.
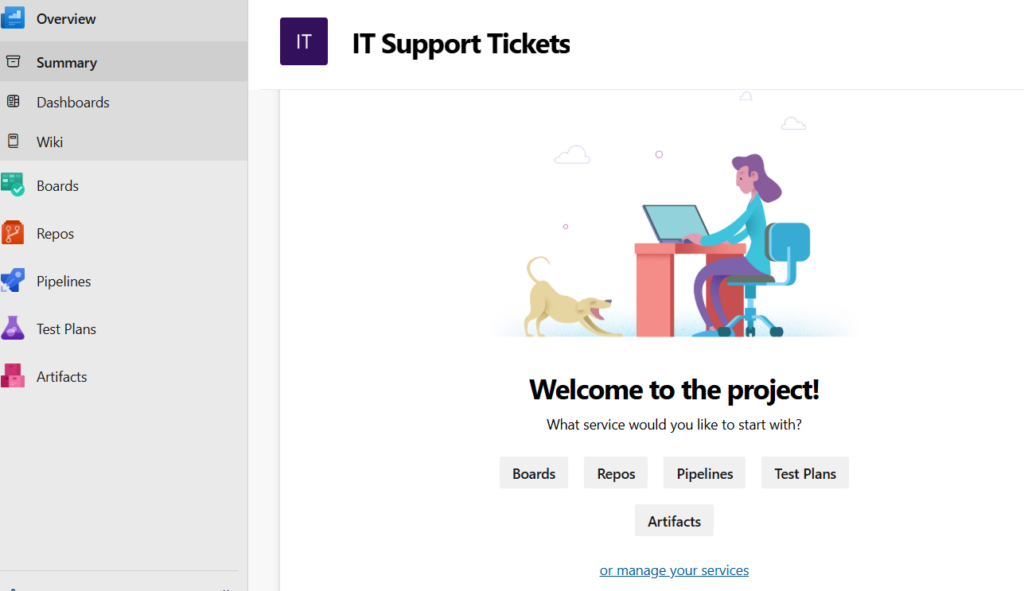
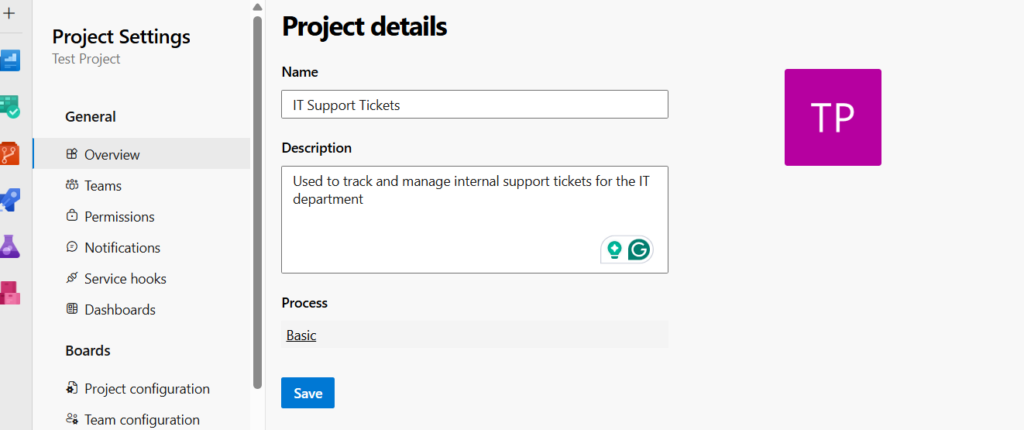
Step 1: Create a project in Azure DevOps
Go to https://dev.azure.com, click “New project,” and fill in the project name, description, visibility, and select the version control and work item process (Agile, Scrum, CMMI, or Basic). Click “Create.”
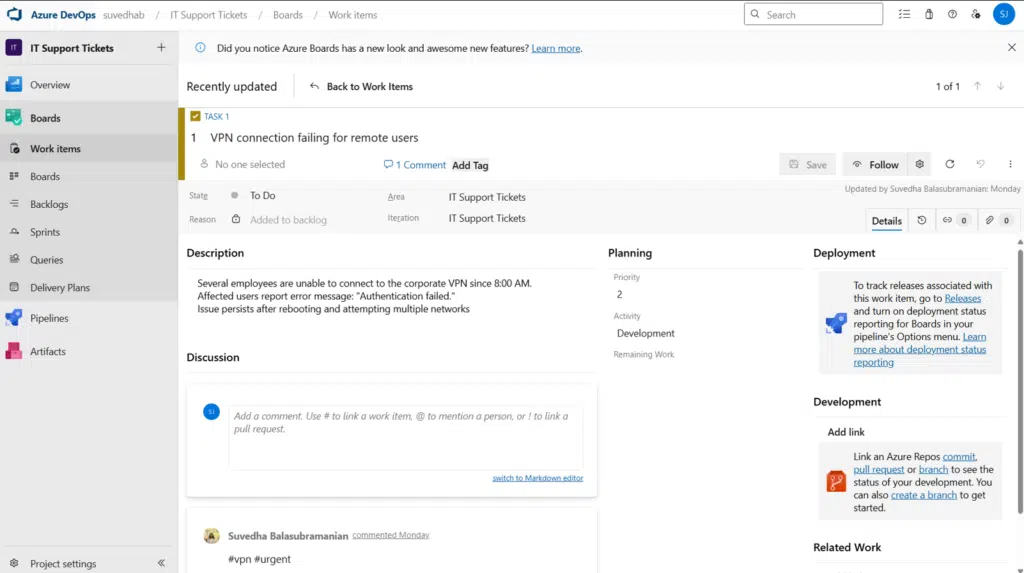
Step 2: Use work items as tickets
In Azure DevOps, work items can be configured to act as support tickets. You can use tasks, bugs, issues, or custom work item types.
To create a ticket:
Go to your project.
Click on Boards > Work items.
Click “New work item” and choose the type (e.g., issue or bug).
Fill in the title, description, priority/severity, assignee, and tags (e.g., “support”, “highpriority”).
Step 3: Customize the ticketing workflow (optional)
To make it more like a helpdesk system:
Go to Project settings > Process.
Create an inherited process if you want to customize fields, states, or rules.
Add custom fields like customer name, ticket category, and SLA deadline.
Modify state workflows (e.g., open > in progress > waiting > resolved > closed).
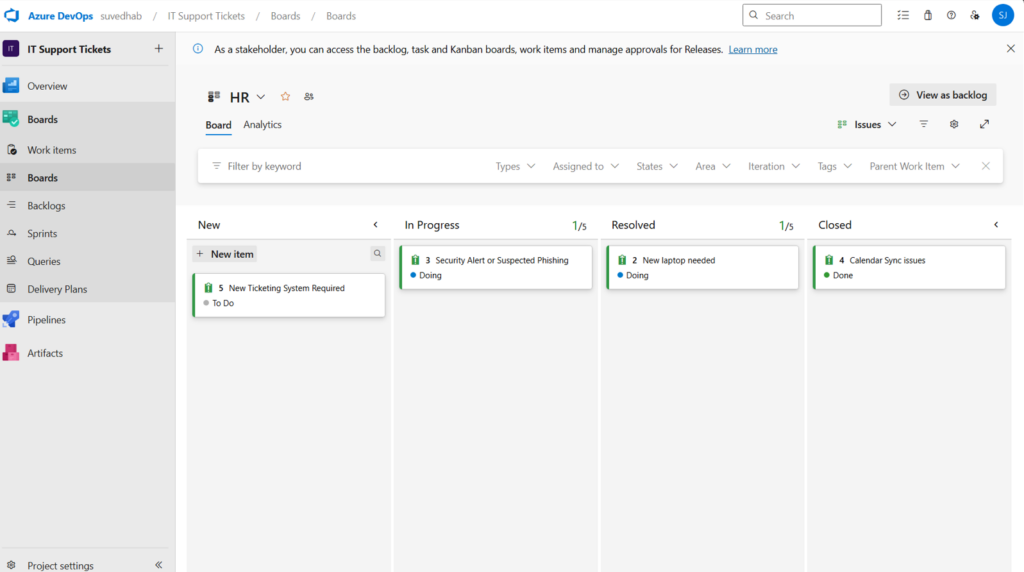
Step 4: Use boards for visualization
Navigate to Boards > Boards. Create columns for statuses like new, assigned, in progress, waiting for customer, resolved, and closed. Drag and drop tickets (work items) across columns as they progress.
Step 5: Automation and notifications (optional)
Use Azure DevOps rules to automate actions (e.g., move ticket when state changes).
Set up email notifications for ticket updates via Project settings > Notifications.
Optionally use Azure Logic Apps or Power Automate for complex workflows.
Step 6: Reporting
Use analytics views or dashboards for tracking metrics like tickets created/resolved over time, SLA performance, and tickets by priority/type.
What are the drawbacks of using Azure DevOps ticketing system?
1. No native Microsoft Teams integration for ticketing
While Azure DevOps has some Teams integration (e.g., notifications from pipelines or boards), it lacks a seamless, native ticket creation or management experience directly from Teams, like you’d get with tools such as Desk365. That means users can’t easily raise tickets or interact with them conversationally through Teams without custom bots or third-party connectors.
2. Limited automation for support workflows
Although you can use rules and pipelines, automation for classic helpdesk use cases (like auto-responses, priority escalation, or time-based ticket status updates) isn’t as intuitive or extensive as in other helpdesk tools.
3. Not designed as a helpdesk
Azure DevOps is built for development workflows, not for customer support or IT service management. It lacks built-in features like:
SLA tracking
Ticket assignment queues
Knowledge base management
Email-to-ticket automation
Customer portals
You’ll need workarounds or custom setups to replicate these.
4. Not user-friendly for non-technical users
Azure DevOps can feel intimidating or overly complex to non-developer stakeholders or users just trying to submit a request. There’s no out-of-the-box self-service portal or simplified UI designed for casual ticket submission.
5. No native customer portal
There’s no built-in, public-facing portal for customers or end users to submit and track tickets. This makes Azure DevOps a poor fit for customer support unless you build a custom front-end or rely on workarounds.
6. Licensing costs and access controls
If you’re bringing in users solely for ticketing (especially non-developers), the cost per user for Azure DevOps licenses might not be justified compared to more lightweight, purpose-built helpdesk tools with cheaper agent pricing.
Explore cloud-based ticketing systems!
If your team is growing or you’re managing an increasing number of support requests, it might be time to consider scaling up to a dedicated ticketing system.
Tools like Desk365 offer a comprehensive set of features tailored specifically for helpdesk management. Starting at just $12, you can access a robust solution that streamlines ticket tracking, SLAs, automates workflows, and provides built-in analytics.
Omni-Channel
- Microsoft Teams Ticketing
- Email Ticketing
- Customer Support Portal
- Web Form/Web Widget
- Unified Inbox
Process Automation
- Workflow Automation
- Multiple Business Hours
- Custom Response Templates
- Canned Responses
- Tasks/To-do Lists
- 'Share To' Tickets
- Time Tracking
- SLA Management & Business Hours
- SLA Reminders & Escalations
- Multiple SLAs
- SLAs in Automations
Data & Analytics
- Customer Surveys & Reports
- Ticket Trend Reports
- Productivity/SLA Reports
- Export Data
- Scheduled Reports
- Import Data
Ticket Management
- Round Robin Ticket Assignments
- AI Copilot
- AI Agent
- Multilingual Helpdesk
- Multiple Business Hours
- Load Based Ticket Assignments
- Ticket Watchers
- Multiple Groups/Departments
- Collision Detection
- Scheduled Ticket Creation
- Closure Rules
- Knowledge Base
- Contact Management
Integrations
- Entra ID Single Sign-on
- Microsoft Entra ID Sync
- API Access
- Web-hooks
- Power Automate Connector
- Microsoft 365 Copilot Plugin
Customization
- Custom Email Servers
- Custom Domain
- Custom Ticket Fields
- Custom Forms
- Custom Roles
- Custom Reports & Graphs
- Remove Desk365 Branding
Support
- Free Setup and Installation
- Priority Support
Service Management
- Asset management
- Change management
Advanced Encryption
- PII and PHI Controls
- Data Redaction
- HIPAA Compliance
- Encrypted Field Logs
Switch to Desk365 Starting at just $12/month
How to integrate Azure DevOps with Desk365 using Power Automate?
In most teams, development and customer support often operate in silos—which can slow down issue resolution and create unnecessary back-and-forth. Connecting Azure DevOps with Desk365 helps close that gap.
By integrating these two tools, you make it easier for customer tickets to turn into actionable tasks for your dev team, and for developers to stay in the loop on real customer problems. It’s a great way to boost collaboration and keep everyone aligned.
How the integration works
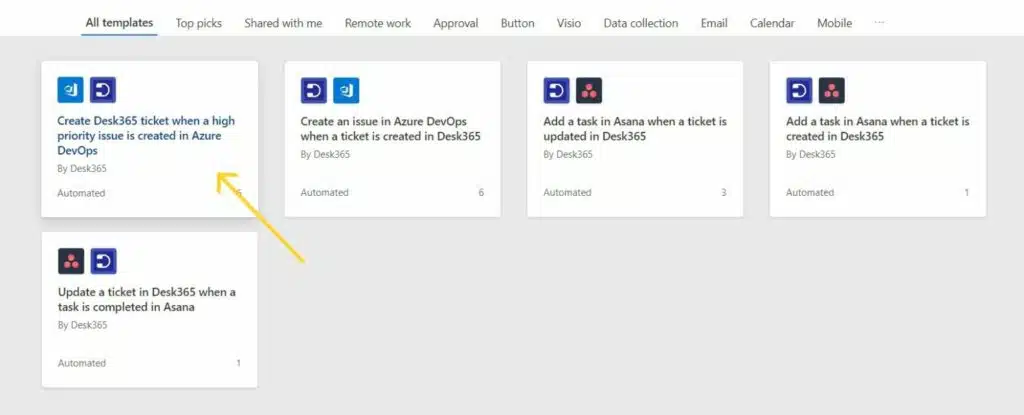
You’ll use Microsoft Power Automate to link the two systems. There are ready-made templates that handle most of the heavy lifting:
When a high-priority issue is created in Azure DevOps, a ticket is automatically created in Desk365.
When a support ticket is raised in Desk365, a work item (issue) is created in Azure DevOps.
To set it up, you just:
Sign in to Power Automate
Choose the Desk365 templates
Connect your Azure DevOps and Desk365 accounts using your API key and organization details
Fill in a few required fields, click “Save,” and you’re good to go
You can even customize it further, like adding a special status in Desk365 (“Escalate to DevOps”) to manually trigger an issue creation when needed.
Frequently asked questions
No, Azure DevOps is not a dedicated ticketing tool — but it can be used as one with some customization.
Yes, you can use Azure DevOps as a ticketing tool — but with limitations. It works best for internal teams, especially if you’re already using it for software development, project management, or DevOps workflows.